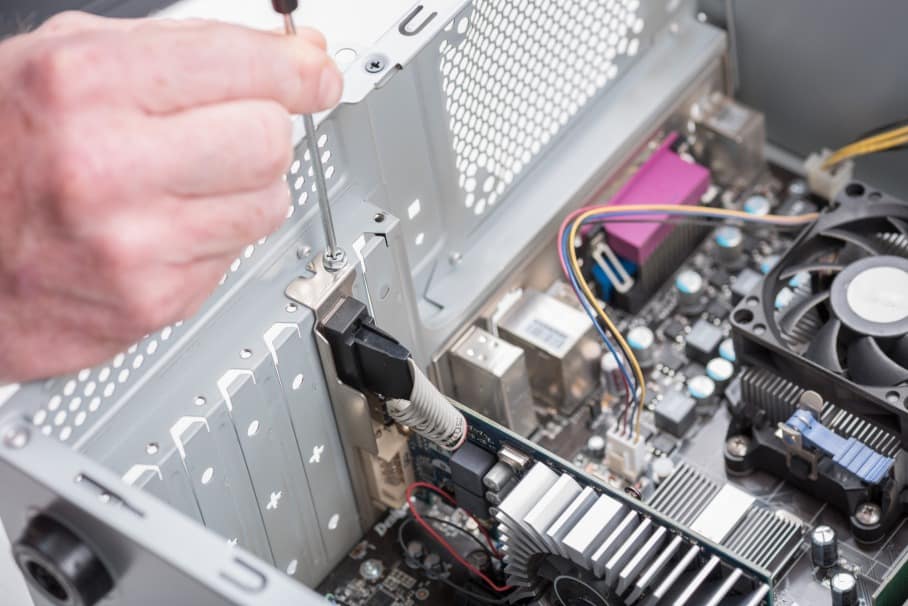
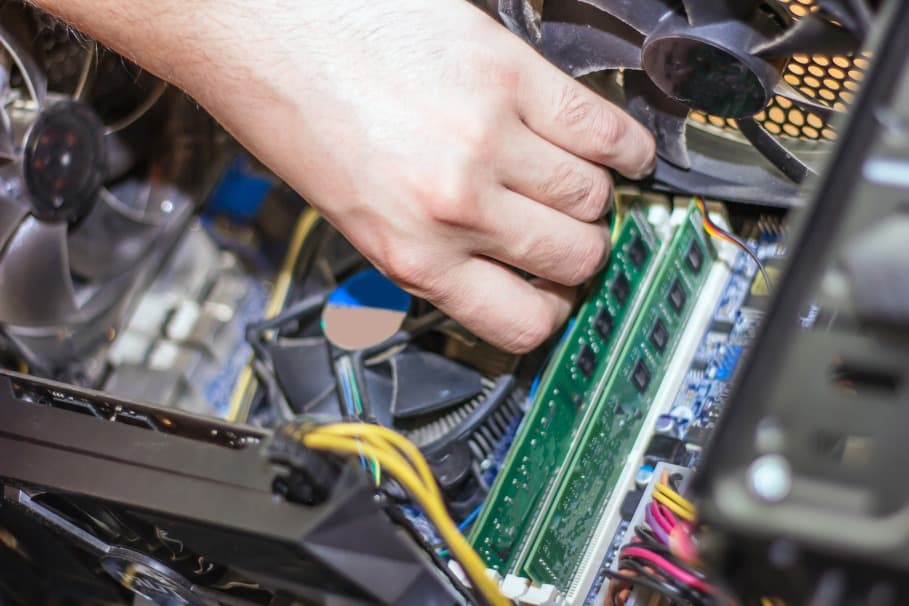
A CPU fan helps to keep your computer's processor cool, which can improve performance and prolong the life of your system. However, over time, dust and other debris can accumulate on the fan blades, reducing its efficiency. Cleaning your CPU fan is a simple process that can help improve performance and reduce noise. Here's how to do it:
- Shut down your computer and unplug it from the power source.
- Open the computer case to access the CPU fan. The fan is usually located near the center of the motherboard and is easily identifiable by its circular shape.
- Use a soft-bristled brush or compressed air to gently remove any dust or debris from the fan blades and surrounding area. Be sure to hold the fan in place to prevent it from spinning too quickly and damaging the bearings.
- If the fan blades are particularly dirty, you may need to remove the fan from the motherboard to clean it more thoroughly. To do this, locate the screws or clips that hold the fan in place and carefully remove them. Be sure to remember how the fan was oriented before removing it so that you can replace it correctly.
- Once the fan is removed, use a soft cloth or brush to clean the blades and surrounding area. Avoid using water or other liquids, as this can damage the fan.
- If necessary, you can also clean the heatsink (the metal fins surrounding the fan) using compressed air or a soft brush.
- Once everything is clean, reassemble the fan and reattach it to the motherboard. Be sure to replace any screws or clips that were removed.
- Close the computer case and plug the computer back in.
Regularly cleaning your CPU fan can help keep your computer running smoothly and extend its lifespan. It's a quick and easy process that can make a big difference in your system's performance.

Canned compressed air is your go-to cleaning tool
When cleaning the CPU fan and other computer components, it’s always recommended to use canned compressed air. This product is specially made for cleaning small, electronic parts. You can find compressed air at PC supply DIY stores.
Canned air for electronics is static-free, so it reduces the risk of damage to important computer components. It is the safest and most economical cleaning product for CPU fans.
If you are using compressed air in a can, make sure to orient the CPU in a way that the dust and dirt from the fan escape freely and not move to other parts of the CPU case.
A small vacuum cleaner will speed up the removal of dust and dirt.
If you have the extra budget, you may also use a small electronic vacuum or duster. This cleaning tool prevents static generation that helps protect the CPU fan and other computer electronic components.
One thing that you need to know is this: Avoid using a vacuum cleaner that plugs into the wall since they may cause generate electrostatic discharge. If you still want to proceed using an electronic vacuum, make sure to remove the CPU fan from the computer to avoid damage.
Simplified but effective cleaning using a damp cloth
If the computer is around a smoker, it is recommended to use a damp cloth to rub down dirt and dust from the CPU fan. It is best to detach the fan from the CPU and use a damp cloth for a more thorough cleaning.

Here are easy-to-follow steps to clean your CPU fan:
Step 1
Now that you have all the tools you need do not forget to unplug the PC before cleaning. Choose a space with plenty of room to clean your CPU fan. First, you need to dust out your computer’s interior space.
Hold the hose near the surface of the CPU but not touching any component. PC components are delicate, so we recommend you refrain from touching the components if you don’t want to end up replacing expensive PC parts.
Remove the back portion of the case and vacuum the inside of the CPU. Do not touch or vacuum small connectors and jumpers to avoid permanent damage. Softly blow the dust in the direction of the hose so that the vacuum can collect most of the dust quickly.
We do not recommend using a vacuum for dusting off computer components. This activity can create static build-up which may fry important electrical components on the motherboard, video card and other important computer components.
Step 2
Slowly spray compressed air to remove the dust that has collected on the CPU fan. It’s also important that you remove dust and dirt that may have collected on the heat sink that is located below the fan.
Use the canned air to get rid of the dust on the grills, too. You may use a pencil or pen to keep the fan blades still while cleaning with compressed air.
DIYers also recommend the use of cotton swabs to clean the fans. Softly and gently, swab against the blades to easily collect dust and dirt. Using small Q-tips may seem tedious but using swabs for cleaning is more precise and accurate in removing stubborn grime and dirt.
While cleaning your CPU fin, you will notice an accumulation of dust at the bottom of the CPU case.
Why not clean this part of your computer, too? You already have the cleaning tools anyway! Use compressed air to remove the dust away from the case.
Finish off by wiping the bottom of the case with a damp cloth.
For a CPU fan that is gunked up with dirt and dust, you may use a cotton swab soaked in isopropyl alcohol. The alcohol effectively removes the sticky gunk that has collected on the fan blades.
After cleaning, give the fans a quick spin to make sure that the blades are moving freely. If they don’t spin after cleaning, it’s high time for you to replace the old ones with brand-new, updated CPU fans.
Step 3
If you want to clean your CPU fan less or if you simply want to function optimally, transfer your PC setup to a cooler spot in your room. Proper placement and positioning will also improve the overall performance of your computer. Bear in mind that a fan that always suffers from overheating issues is more likely to collect dust, dirt, and other particles.
Step 4
After cleaning the fan, use a vacuum cleaner to remove debris from other computer accessories such as the mouse, cable wires, keyboard, and speakers. You may also use compressed air or a damp cloth to remove dust and dirt from these PC accessories.
Step 5
Before reassembling your CPU, inspect the fan and its surrounding components after the initial cleaning. You can use a dry cloth or a cotton swab to remove traces of dirt and dust. Make sure all parts of the inside CPU are thoroughly cleaned before closing it again.
These easy-to-follow cleaning steps will make your CPU look and perform like new! A clean computer system inspires to increase the productivity of its users. Do not forget to keep an eye on your CPU usage, clean the CPU fan and other electronic components every 3 to 6 months to ensure optimum performance from your computer.
If you liked this tutorial, you might also want to check out our Graphics card cleaning tutorial.


