Most Windows 10 users avoid any potential risk like running software from unknown sources or visiting suspicious websites that would compromise PC security. While this is a good practice, it may deny you the chance to test some useful tools from unpopular but legit developers.
Fortunately, Windows Sandbox creates a safe environment that allows users to safely run potentially harmful applications without damaging their computers. Moreover, the tool enables developers and testers to run new apps to identify potential bugs that could affect the functionalities of existing features or apps.
In this article, we will explore Windows Sandbox features, how to activate and use this tool in Windows 10
What is Windows Sandbox?
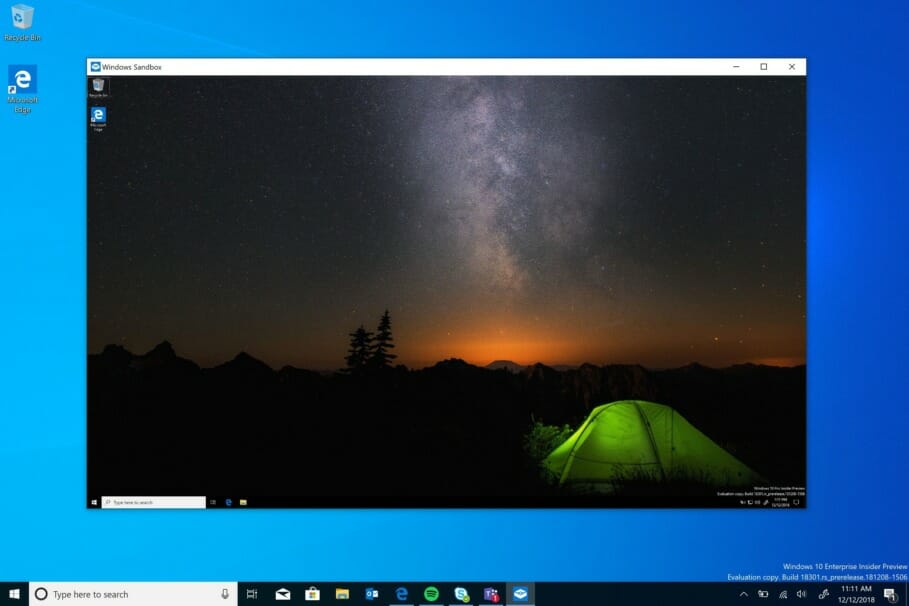
Windows Sandbox is a lightweight, temporary and isolated desktop environment where users can install and test untrusted apps separately from the host machine. It is a safety feature that uses Microsoft’s hardware virtualization and hypervisor to run an independent kernel that isolates the session from the host machine.
The feature also uses smart memory management, integrated kernel scheduler and virtual graphics to create a clone of the original OS installation. Moreover, Windows Sandbox runs as a clean Windows 10 installation and deletes all ‘sandboxed’ installations and files upon closing.
Features and Benefits of Windows Sandbox
Windows Sandbox offers more than just creating a safe platform for testing untrusted or sketchy applications. Some of the useful features of the tool include:
Pre-installation - The tool is part of the Windows 10 OS which means that no new installation is required. However, your PC must be running an updated Windows 10 Pro or Enterprise edition.
Clean installation - Windows Sandbox runs as a new installation of the OS.
Temporary - After closing the Windows Sandbox, it kills all the active states and processes thus nothing remains in your machine.
Security - the main purpose of the tool is to enhance security. It uses hardware virtualization to create an isolated environment that allows users to test potentially harmful apps or visiting suspicious websites without the fear of infecting or damaging the host.
Efficiency - Windows Sandbox is a lightweight installation that is optimized to boot faster than conventional virtual machines.
How to Enable and Start Windows Sandbox
The following steps guide you on how to get started with Windows Sandbox.
Step 1: Checking the System Requirement
Before you start using Windows Sandbox, you need to first confirm that your computer meets the minimum specification:
- Updated Windows 10 - Professional or Enterprise edition
- 4 GB of RAM and at least 1 GB free disk space
- At least 2 CPU cores
- Virtualization activated in BIOS
- AMD64 processor architecture
Step 2: Check and Enable Virtualization Status
By default, the virtualization feature is enabled in firmware but there are two easy ways to confirm.
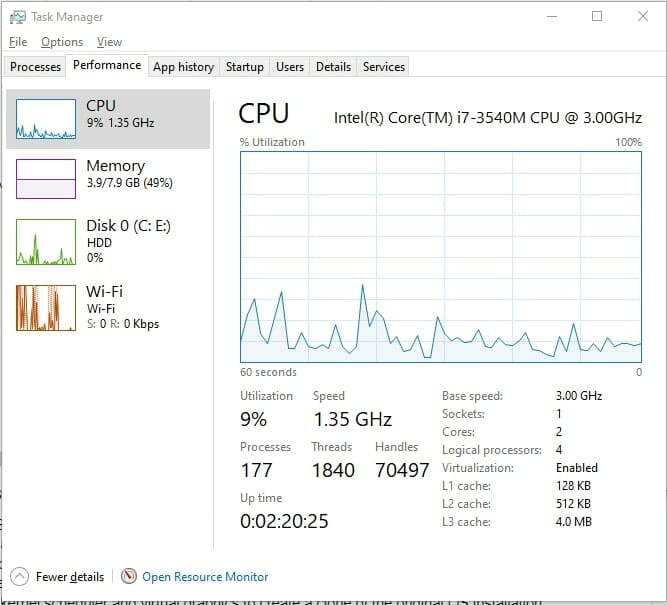
Press the ‘Ctrl + Shift + Esc’ keys to open the Windows Task Manager.
Switch to the "Performance tab and select "CPU" on the left pane. On the CPU performance details, on the right side ensure that the virtualization status reads.
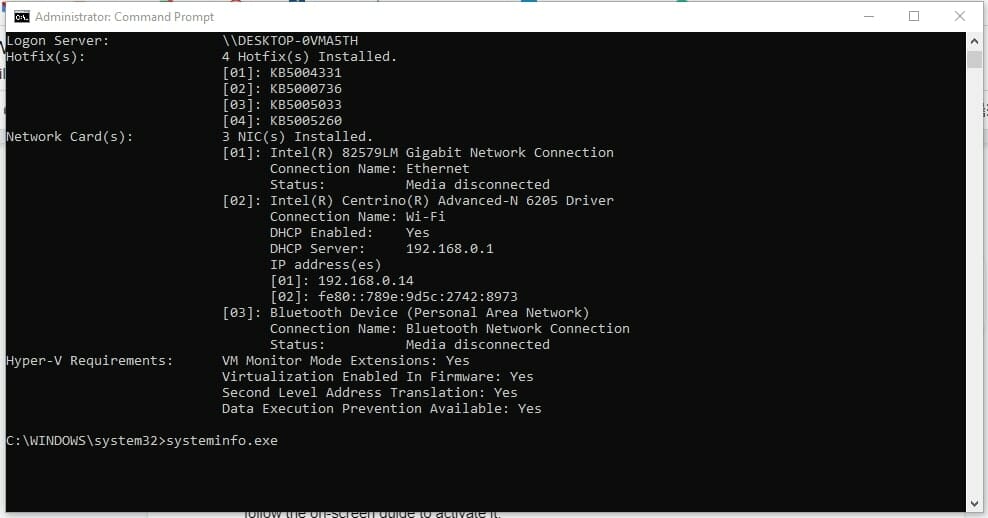
Alternatively, type ‘cmd’ in the search box and open “Command Prompt” from the result.
Type the following command ‘systeminfo.exe’ and press Enter.
Scroll down to the bottom of the generated system details and under the “Hyper-V Requirements” you will find “Virtualization Enabled In Firmware: Yes”
If the virtualization feature is disabled you need to enable it in the BIOS settings to be able to use Windows Sandbox.
Simply restart your PC and once the brand logo appears press the “F2” or the applicable key depending on your computer model to enter the BIOS settings. Look for “Virtualization” and follow the on-screen guide to activate it.
Once the machine restarts, repeat the above process to confirm that it is enabled.
Step 3: Enable Windows Sandbox
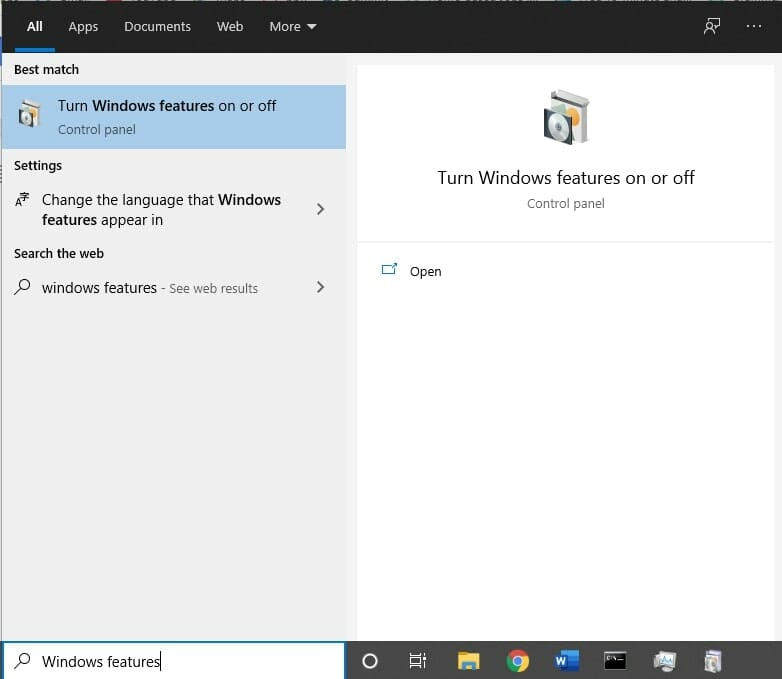
Search for "Windows features" in the search box and select the "Turn Windows features on or off" option.
Scroll down the Windows features window and click to tick the box for Windows Sandbox.
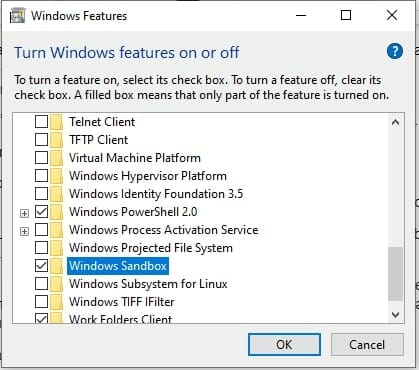
Click the "Ok" button to apply the changes and then restart the machine when prompted.
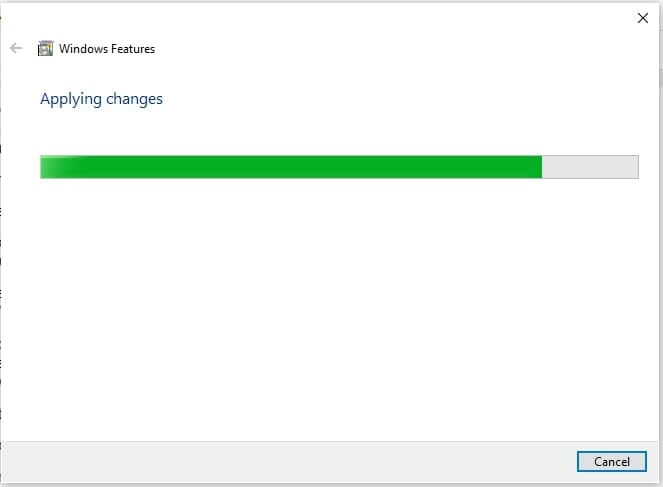
Step: Launch Windows Sandbox in Windows
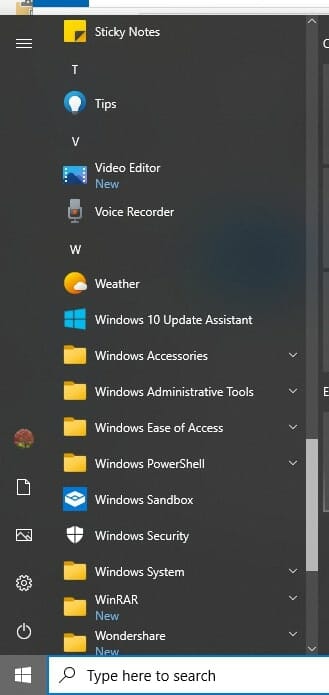
Go to the Windows Start menu and scroll down the programs list to locate “Windows Sandbox”.
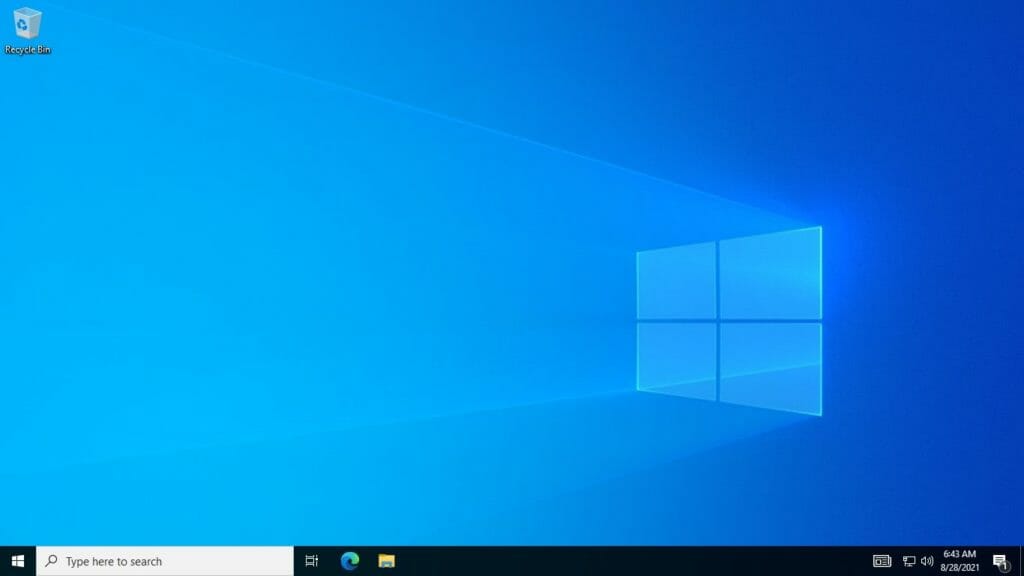
Click it to open and wait for Windows 10 to load the virtual OS.
The feature will load as a clean installation of the current host machine Windows 10 version allowing you to test any app or adventure potentially risky websites freely.
How to Use Windows Sandbox
You can navigate and operate the Sandbox environment the same way as any Windows 10 PC.
If you want to test an application, copy the installer from the computer storage and switch to Windows Sandbox and paste.
Double click the .exe file to start the installation and follow the normal installation.
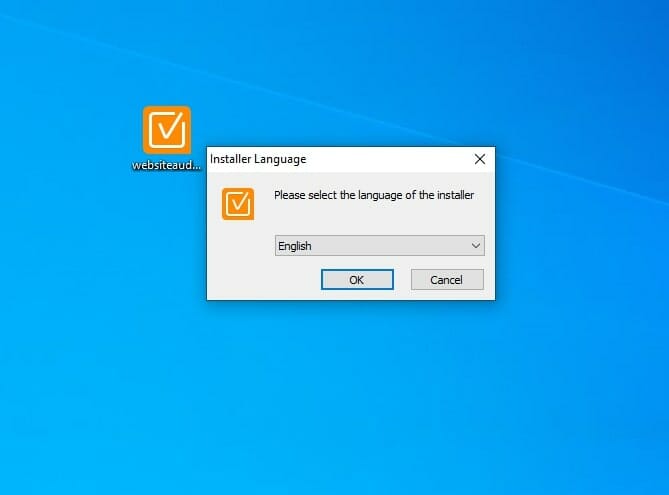
You can also use the Microsoft Edge browser to download the software or visit any website.
To switch between the Windows Sandbox Full and Restore-down screen view, click the restore button located at the top of the screen or press the 'Ctrl + Shift + Pause/Break' keys on the keyboard.
Once you are done testing the software or exploring websites, click the “x” button to close the Sandbox window.
You will get a warning prompt to confirm the action. Click “Ok” to close <Image: ConfirmAction.png>.
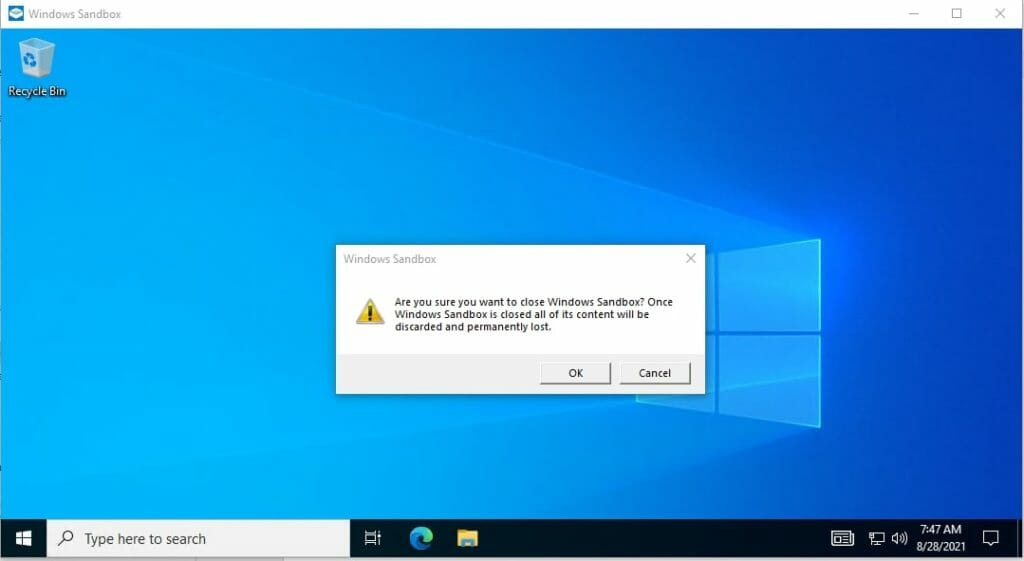
Note that once you close the virtual OS, nothing remains in your machine. All the files and installed apps are deleted permanently and when you open Sandbox again it will create a new instance.
Conclusion
Windows Sandbox is an interesting Windows 10 feature that has been specifically designed to enable users to test suspicious software without interfering with your operating systems.
It is also a handy tool for software developers and testers as it helps to identify compatibility issues and other potential bugs to ensure that the final product will run seamlessly in Windows 10.
If you want to run software or visit a website that you don't trust, the above guide shows you how to create a safe environment for your experiments. Impressively, the feature runs smoothly on minimal hardware and loads apps faster just as in a newly installed OS.


