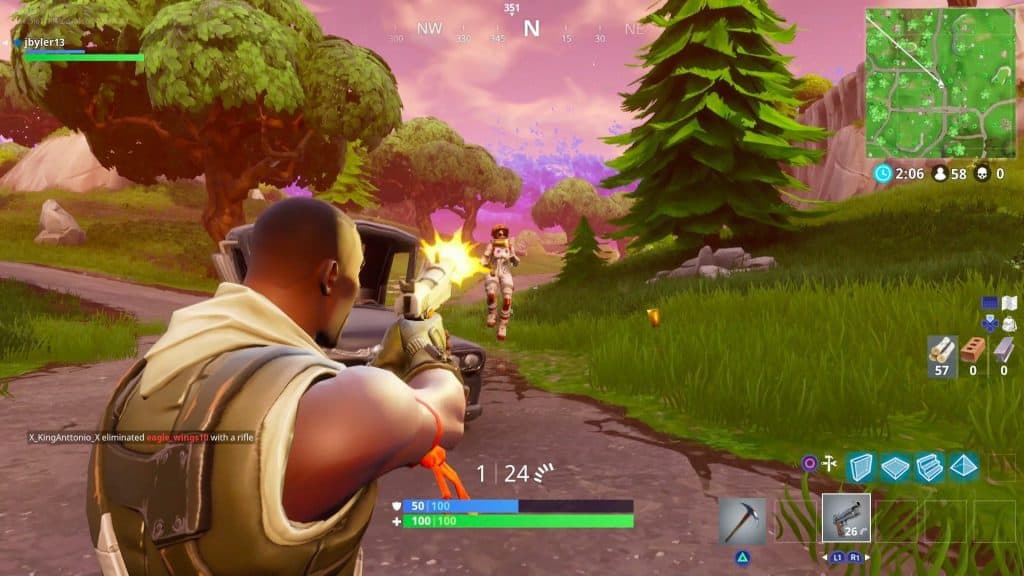
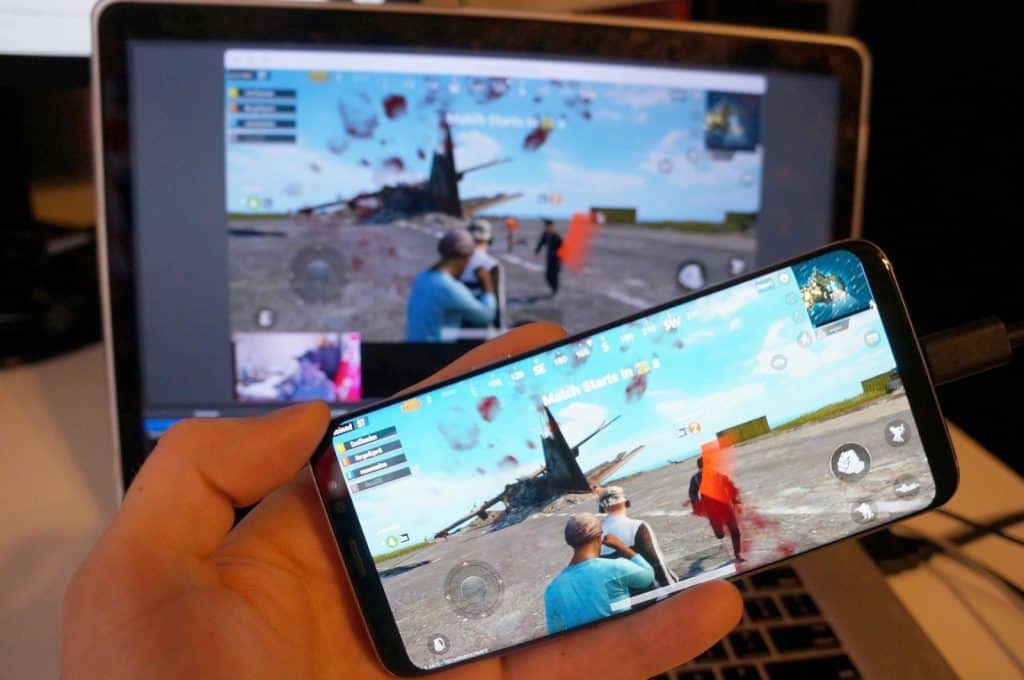
If you have an interest in playing a video game, you probably have mulled over the idea of getting yourself in front of a camera and shoot the gameplay or even try and start your own channel to inspire thousands of other gamers. For example, you can make a game channel on any of the popular video sites like youtube, where you share walkthroughs on the various games that you play. It actually isn't that hard to produce game videos. You only need to invest in a few hardware and software to create game videos. As an avid gamer myself, in this article, I will try to clobber my thoughts and list all the equipment I suggest you look at before you dive into the recordings. These are my personal views and as with all things in life, please research and make an informed decision. Without further adieu...
Pick the Games You Want to Record
As a first step, you must decide what types of games you would want to record. You can do research on YouTube and other video sharing platforms for some inspiration and find out what games people have already produced video walkthroughs and most viewed formats. Choosing a game that no one has recorded can give you a better chance of getting traffic if you know how to promote it. This is because most online video sharing platforms are saturated with a large number of videos on the same game. If you produce the same type of game walkthrough as everyone else, your video will likely not get viewed. They would rather watch game walkthroughs produced by authority channels instead of new gameplay videos. Having said that, if you are a class above the rest, as most of us mere mortals aren't, then feel free to go ahead. Remember to trust your instinct!
Invest in a Quality Microphone
Secondly, for any sort of long shot at being next youtube gamer superstar, You need to invest in a quality microphone and other audio accessories. With a microphone, you will be able to add audio comments to the video, which will come in handy. All microphones including cheap and expensive ones can be used to record your gameplay podcast, however, investing in a higher quality and trusted bran can offer you more realistic and professional audio sound.
Get a Pop Filter to Eliminate Pop Sounds

This one is my personal favourite. Help yourself and consider getting a pop filter to filter away the popping sounds. The pop filter, also known as the pop guard, is attached to the microphone. Popping sound is quite normal and can happen when the air from your mouth hits the microphone and believe me, as agonising as it might sound, it is a common occurrence. There are many types of pop filters including foam caps and metal discs in the market but in all honesty, foam caps are just perfect!
Buy a Mic Boom to Support Your Microphone
More often than not, When you are playing a game, you will get excited and move your body from side to side. This can cause you to accidentally push the microphone from the table and as with experience, although these do not cost you an arm and a leg, they will eventually add up. One of the first things I did was to install a mic boom to hold the microphone in place. The mic boom is an arm that is fixed to your microphone and ensures it stays in position, come rain or shine. Many stores often sell microphone, pop filter, and mic boom in a bundle, so look out for deals out there
Choose a Video Capture Device to Record Console Gameplay
Next up, you must select a video capture device. You need a video capture device if you are recording a game that is played on a console like PS4, and Xbox One. Some gaming consoles have restrictions on game recording so please check before diving in. You can check your video capture device to see if it provides any instruction on compatibility with the gaming consoles or issues with interoperability. If you want to include live comments on the game, I suggest you buy a video capture device that incorporates a microphone recording feature. With a quality device, you should be able to record your gameplay with up to 1080p resolution. You will need an HDMI cable to set up the game capture software. One end of the HDMI cable should be plugged into the HDMI OUT port while the other end should be plugged into the IN port. There is also a USB-to-USB-C cable, where the USB-C end should be plugged into the HD60 S and the other end should be plugged into the USB 3.0 part.
Install a Screen Recorder to Record a PC Game
This is a must in my opinion. Try and install a screen recorder to record gameplay on the PC computer screen. I have found Movavi works better but each to their own. In Movavi Screen Recorder Studio, there is a small control panel box which you can access for all your recording needs. You can choose from the preset on how big you want the recording area to be. It can record a section of the screen or full screen depending on your needs. If you want to record the gameplay with music, you also have an option to enable the audio speaker within it. If you plan on talking and providing commentary during the game play, do not forget to enable the microphone. When the game starts, its as simple as pressing F10 and the software will start to record desktop. When you stop the gameplay, you just press the same key, F10 again to stop the recording. As a nifty little feature, When you press Stop, it will take you to a page where you can cut parts of the videos that are not necessary.

Invest in a Video Editing Software
As you probably know by now, if you have any chance of making into the gaming pro world, you also need to invest in a video editing software to edit your gameplay videos. You are bound to make some mistakes in the videos which will require you to edit them in a video editor. The software offers access to a built-in video editor to allow you to edit the gameplay clips conveniently. As with other things on the Movavi, the features are pretty straight forward, You must click on "Open in Editor" to launch the built-in video editor. With it, you can also make edits to the video, boost the volume, enhance the gameplay graphic, and add watermark, if you so wish.
Hardware Requirements
You can use a computer with medium specs to record the gameplay but as with me you will soon realise that smooth gameplay is an absolute necessity before you play any game, let alone record videos of it. If you are not sure, check with the screen recorder recommendations on the hardware requirements instruction set that most vendors provide. But you must make sure your monitor can display decent quality graphics and your computer should have at least 4GB RAM. We are not talking HDR or 4k UHD but a decent 1080p is a minimum. The more RAM your computer has, the lower the chances it will hang. You also have to make sure you have enough hard drive space to record the game. Again there are lot of choices here but as long as its a SSD, you are golden! The gameplay record will take up significant space on your hard drive especially if you record it in 1080p or 4K quality. You may also want to think about buying another external hard drive if your hard drive doesn't have enough space to support the game play recordings but remember, bigger is definitely better in this instance!
Must-Have Fast Internet Access
This is a no-brainer! Most of us here in the West, have at least 20-50MB Broadband but if you are not so fortunate and live in the sticks, you will struggle with the quality and subsequent streamings if you are recording online gameplay. If your internet is slow, the online game will invaribly crash and you will keep having to reset the game. It will also take a longer time for the game to be uploaded when the internet is slow. When you shop for an internet plan, make sure that its upload speed can meet your game uploading needs. For example, in my experience, it can take at least 2 hours to have a 4 GB video.
Compress Your Video

Since you are uploading online, the size of the file that you send across your internet pipe will dictate the time it takes to be on the world wide web. Couple it with a compression format like MP4 that most online video platform supports, you will be a rockstar in no time. I would suggest you not to choose formats like AVI or MOV as the video file size will be too large. If your game video is lengthy, you also have the option of dividing it into smaller parts and uploading them slowly one by one. This will prevent you from having to turn on the computer straight for long hours to get the entire series uploaded to the video sharing platform.
Make Sure Your Game Video Does Nor Violate Any Copyright
This is a biggie! Before publishing to YouTube or any online video platforms that are available, make sure your game video does not violate the copyrights of the game company. You should check with the game company concerning any statement about creating game video and monetizing it. Most common mistake that's made by rookie gamers and other online streamers is to snatch the first music video they get on the net and include it in theirs. DONT! Something to keep in mind is that you should avoid using copyrighted music that is not included in the game itself. You may want to consider using royalty free music should you wish to include background music in the video, but not any music you get your hands on. Copyright laws are getting stringent by the day and if you do not comply with the laws, your video may get removed from video sharing platforms. If you want to monetize your website, you also have to make sure that it complies with the YouTube AdSense program guidelines. any violation of the AdSense program policy will result in possible ban from the program as well. Lastly, if you are using a GoPro, we have a handy guide on how to use it as a webcam right here...
Happy Recording! As always, let us know in the comments section, how you get on!


