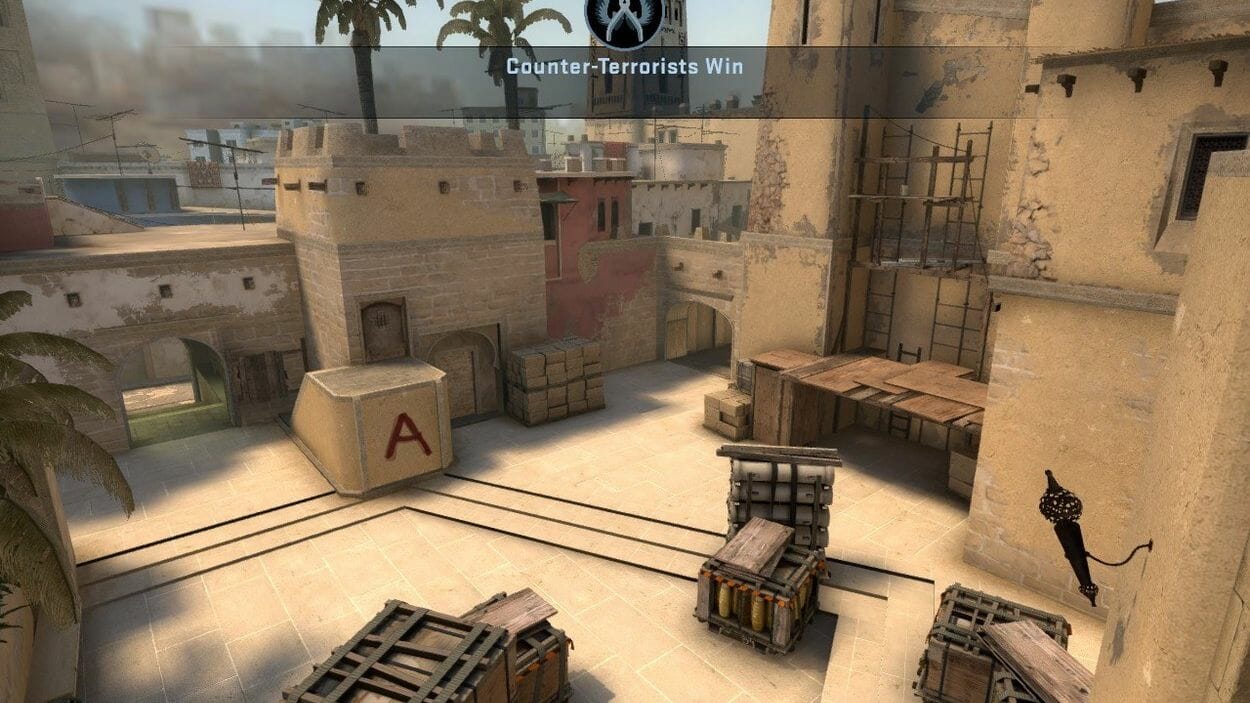
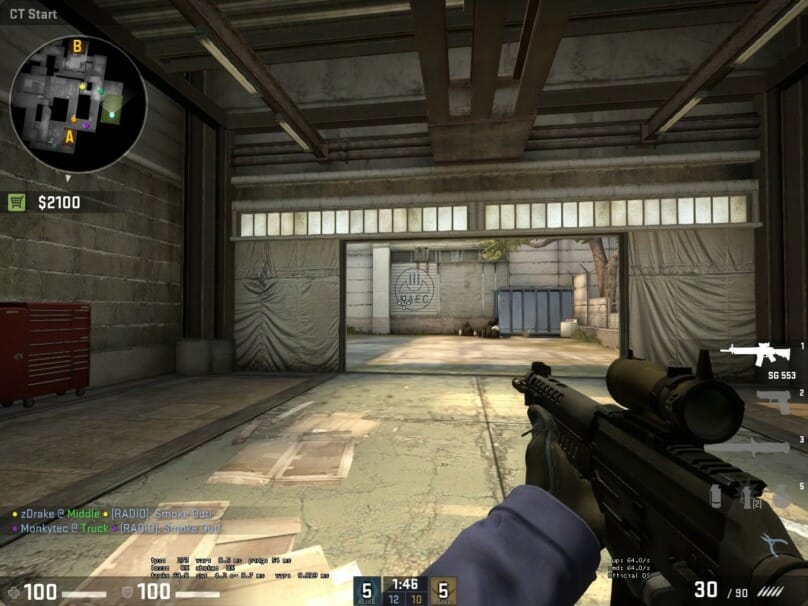
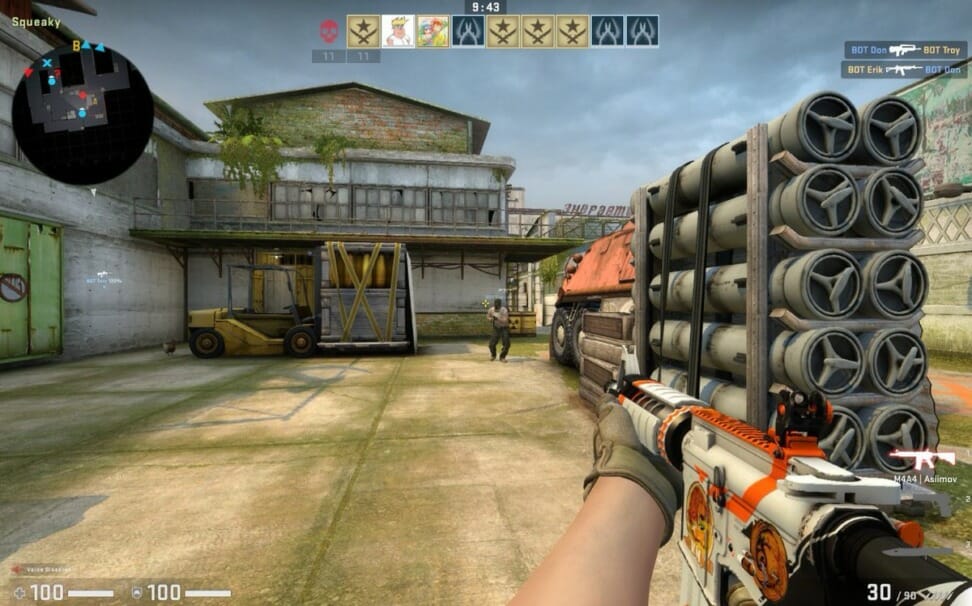
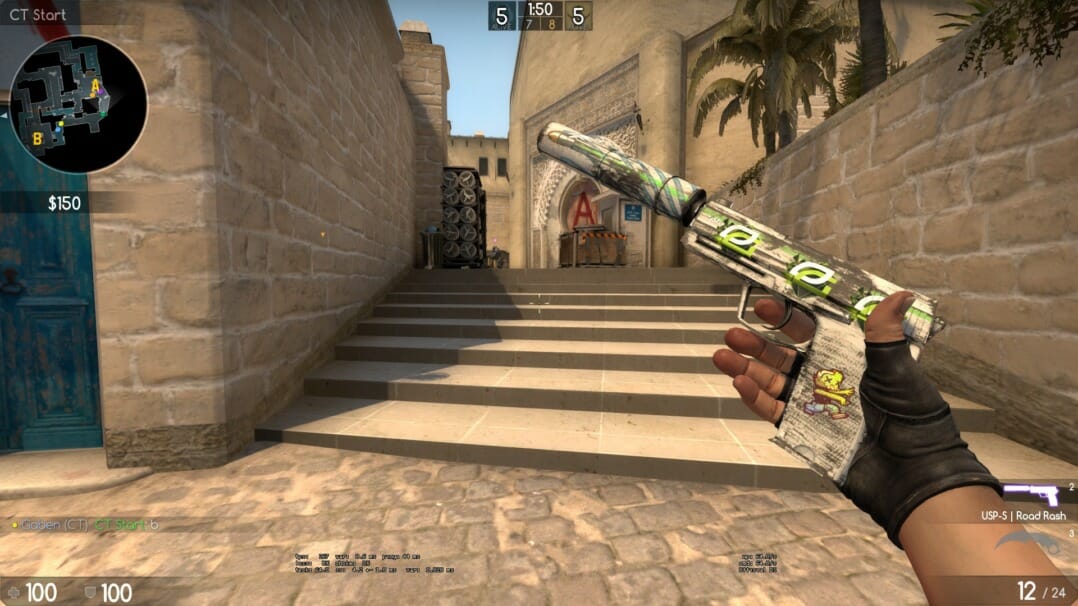
It is said that the CT side is probably the easiest side to play, for a variety of reasons. One of them, and for me the most impressive, is that CT has a positional advantage that they can exploit when facing the Terrorists.
Knowing how to play this side properly, and how to make the most of its advantages, is one of the main points that will help you become a good player. In this article, I will look at some of the plays you can make as a CT.
You'll look like a pro while doing so, and you'll also provide your team with extra points. In the paragraphs below, we'll mainly focus on positioning, rotations, and grenade usage.

Positional play
Like I stated at the very beginning of this article, positional play is the most important factor for a CT team. Proper bombsite stance and map control is what can win you rounds. In this article, we will explain team positional play, also known as set-up, and then look at individual positions and how to use them.
The most common set-up you will usually encounter when playing matches is the 2-1-2. This set-up means that you will have 2 players in the A and B position + the last renegade is the one guarding the middle.
This is called the basic set-up and is the one you will see most of the time. In some rounds, this set-up can be effective, but keep in mind that the set-up is something that will vary from round to round.
The only reason not to change the default 2-1-2 set-up is if this set-up works wonders and you are destroying your opponent on all fronts.
However, since you're facing a team that adapts to your style of play, you'll need to make adjustments during the game to give yourself an even better chance of getting the rounds you need.
Let's say that the other team puts a lot of pressure in the early part of the round to gain control of the center part of the map and gain that all-important map control for themselves. You know you need two or three players on the T side to do this, so it's a good idea to focus even more players from your side on this part of the map.
This will allow you to both set up crossfire between players and, by using properly thrown grenades, gain an advantage and keep the middle part of the map under your control.
Another good example is found on the Overpass map, everyone is used to sending 3 players to B and letting the vast bombsite A (connector,toilets,long) guard only two of your wards. Doing this early in the game is an excellent thing to discourage Terrorists from gaining easy control of the aforementioned locations with multiplayer. Whether you choose to actively hold connectors, toilets or long is up to you.

The basic idea is clear, bombsite A that is hard to conquer is not just left for free. After all, you've probably experienced a thousand times that when one of the two players goes down, a single-player bombsite is very hard to save.
So the gameplay on the CT side should always be varied, and you'll even have more fun if you occasionally swap out the default layout for something the Terrorists don't expect.
As long as you have the right player spacing and an active leader who gives you good cues, you will always have a big round gain on the defensive side (CT).
The other side of the coin with positional play is what position you choose individually.
The number of players who are caught with their pants down, due to poor positional knowledge or bad timing, is too great and this can be partially corrected by reviewing your personal replays. From there you will find out what you did wrong.
You can also note what the T side did to put you in a bad position so next time you will know what is coming.
You will play 15 rounds on the CT side (if you start the game as CT) and a lot can happen in 15 rounds. You'll have to adapt to multiple situations throughout the game, and you'll have to play different positions on the map depending on what your other teammates come up with and/or the weapons at your disposal.
There are plenty of positions available in each location and it's up to you to choose well and, most importantly, not to appear too often in the same position. After all, you don't expect that if you put someone from a knocked ninja position that your opponent won't check it the next round.

Rotation
I'm sure everyone has left their position and rotated to the other side of the map due to a teammate shouting "rush us", only to find that no one is there. The fact is that rotations play a big role on the CT side.
You'll have to rotate around the map, and you'll find yourself in different situations that will arise based on how the other team is playing, how your team is playing, what your role is, and what's going on that round.
What's key above all else is to rotate safely. When rotating, you won't be able to hide in a safe position if you get into a fight of some sort, so always make sure you take the safe route.
Choose this based on the map control your team has. Always keep in mind that the opposition team may have a Lurker somewhere, often waiting for your turns. The second important thing is to never, ever overdo it with rotations.
What I mean by that is don't leave your position just because someone on the other side of the map said there's gunfire or grenades flying.
You must always remember that the T's can only pretend to be attacking the bombsite (fake). The position you hold is important to your team, even if there is no pressure from the enemy right now.
That's why the team has five players. I would recommend that you only fully rotate when you see a bombsite near the plant, and even then you have to be careful not to die while rotating.
Another option is to aggressively push through a flash from a teammate to get information if a couple of Terrorists with a bomb are camping in front of your bombsit. This way you can not only get a kill but important information for your team.
Rotation is very important for every AWPer, because you don't want to be too static and only play one or two positions.
Good rotations and position changes is what defines a good sniper. Let's say at the beginning of the round you go to the middle to get a frag, then you are expected to move and choose a different angle.
Few teams are going to go for an AWP when they've just lost a player, and another factor is that you'll be unpredictable and can get another frag at a different position on a player who won't be there waiting for you.
AWP is such a big investment that you really have to be careful to use it properly. Constantly peeking and/or holding different angles will ensure that the other team will hate you.


