


Do you have spotty Wi-Fi coverage in certain parts of your home? Are you struggling with slow or unreliable Wi-Fi connections? If so, a Netgear Wi-Fi extender might be the perfect solution. Wi-Fi extenders are designed to boost your existing network range, improving the performance of your wireless network and eliminating dead zones in your home.
This article will look at using a Netgear Wi-Fi extender to get the most out of your wireless network.
Table Of Contents
- 1 NETGEAR’s Best WiFi Extender — EX3700
- 2 Setting Up Your NETGEAR Wi-Fi Range Extender
- 3 NETGEAR Wi-Fi Range Extender EX3700: Usage
- 4 How do I use my NETGEAR Wi-Fi Extender as a router?
- 5 How do I connect my NETGEAR WiFi extender to my existing WiFi?
- 6 How do I know my Netgear Extender is working?
- 7 How do I connect my WiFi extender to a new router?
- 8 How to Reset NETGEAR WiFi Extender?
- 9 Netgear N300 Wi-Fi Range Extender Setup
- 10 Conclusion
NETGEAR’s Best WiFi Extender — EX3700
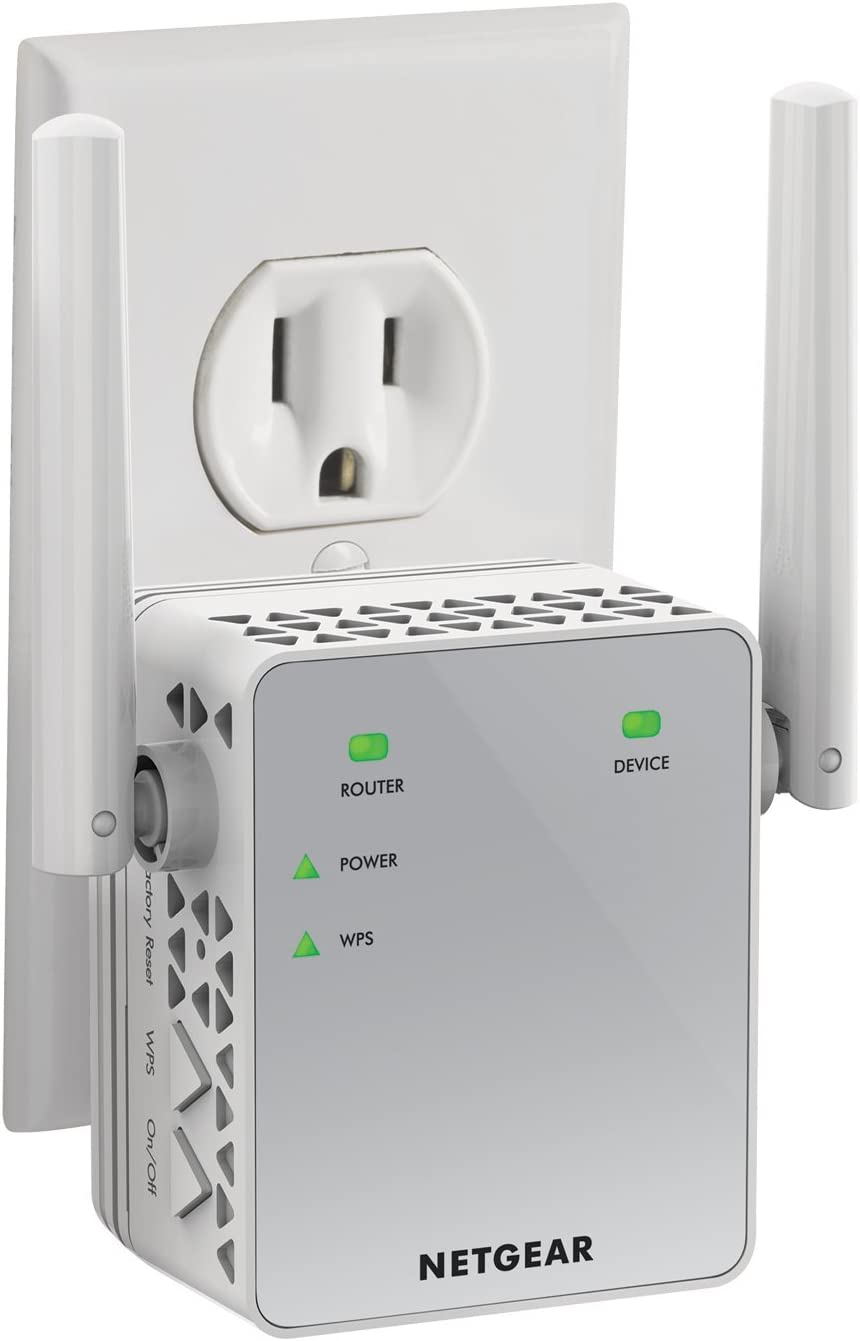

The NETGEAR Wi-Fi Range Extender EX3700 is an excellent device for boosting and extending your home Wi-Fi signal. It provides fast and reliable performance in a compact, easy-to-use design. Setup is simple, with just a few steps before you’re ready to start enjoying your extended network.
The extender offers up to 750 Mbps of extended wireless coverage, so you can be sure you’re getting a strong signal in every corner of your home. It also features a dual-band design, allowing it to use both the 2.4GHz and 5GHz frequency bands for maximum coverage and performance.
The EX3700 has advanced features that make it easy to optimize your network. It includes a built-in connections tracker, which allows you to identify devices connected to your network and monitor their performance.
You can also easily set up a guest network, so visitors can access your Wi-Fi without compromising your leading network’s security. Additionally, the device has a USB port, allowing you to share files and media with other devices. One of the best features of the EX3700 is its compatibility with Amazon Alexa and Google Assistant.
Pros
- Fast, reliable connection speeds up to 750Mbps.
- Supports dual-band Wi-Fi, allowing for simultaneous connection of both 2.4GHz and 5GHz devices.
- Compact, wall-plug design makes it easy to install and move around.
- Includes a built-in Ethernet port for connecting wired devices.
- Simple setup and configuration using the NETGEAR genie app.
Cons
- Does not support 802.11ax (Wi-Fi 6) technology.
- Some users may find the signal strength to be lower than expected.
- Range extender is not compatible with all routers.
Check the NETGEAR Wi-Fi Range Extender EX3700’s latest prices on Amazon
Related: Wifi Extenders vs. Wifi Boosters – Which One to Choose?
Setting Up Your NETGEAR Wi-Fi Range Extender
Step 1: Unpack your NETGEAR Wi-Fi Range Extender EX3700 from its box and plug it into a power outlet.
Step 2: Connect your computer or mobile device to the NETGEAR_EXT network.
Step 3: Open a web browser and type http://www.mywifiext.net.
Step 4: When prompted, enter the default username and password (admin/password). Then, click Log In.
Step 5: On the Setup page, click the Wireless Settings tab.
Step 6: Enter the Network Name (SSID) of the existing router and the Password.
Step 7: Click the Apply button to save your settings.
Step 8: The NETGEAR Wi-Fi Range Extender EX3700 is now setup and ready to use.
Related: Best Wifi Extenders for Gaming – 6 Top Picks in 2023
NETGEAR Wi-Fi Range Extender EX3700: Usage
- To connect your devices to the NETGEAR Wi-Fi Range Extender EX3700, simply search for available Wi-Fi networks and select the NETGEAR_EXT network.
- Enter the password that you set in the previous step.
- Your device should now be connected to the NETGEAR Wi-Fi Range Extender EX3700.
- To manage the NETGEAR Wi-Fi Range Extender EX3700, open a web browser and type http://www.mywifiext.net.
- When prompted, enter the default username and password (admin/password). Then, click Log In.
- You can now manage your NETGEAR Wi-Fi Range Extender EX3700 settings.
- You can also use the NETGEAR Wi-Fi Range Extender EX3700 to create a separate Wi-Fi network for guests or to extend the range of your existing Wi-Fi network.
- When you are finished, click the Apply button to save your settings.
- Your NETGEAR Wi-Fi Range Extender EX3700 is now ready to use.
Related: Best Mesh WiFi System – 6 Options For All Budgets And Needs
How do I use my NETGEAR Wi-Fi Extender as a router?
Using a Netgear WiFi Extender as a router is a great way to get an extended range of coverage for your home or office network. Here are the steps for setting up your Netgear WiFi Extender as a router:
- Connect the Netgear WiFi Extender to your existing router.
- Log into the extender’s web interface. To do this, open a web browser on a device connected to the extender and type in the IP address of the extender.
- Once you’ve logged in, navigate to the Wireless Settings page and select the ‘Create a New Wireless Network’ option.
- Give your new wireless network a name (SSID) and select a security protocol. You can use WPA2-PSK for maximum security. Create a strong password and click ‘Apply’.
Your Netgear WiFi Extender is now configured as a router. Connect your devices to the new network and enjoy extended wireless coverage.
How do I connect my NETGEAR WiFi extender to my existing WiFi?
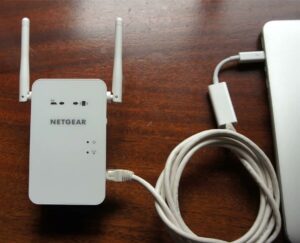
Connecting a WiFi extender to your existing WiFi network is a fairly simple process. You will need the extender, an Ethernet cable, and access to your router.
- First, you will need to plug the WiFi extender into a power outlet and then connect the extender to your router using an Ethernet cable.
- Next, you will need to access the settings of the extender, usually with a web browser. This will usually be done by entering the extender’s IP address into a web browser.
- Once you are in the settings, you will need to configure the extender to connect to your existing WiFi network. This configuration can vary depending on the model of extender, but typically involves entering the SSID, password, and encryption type of your existing WiFi network.
- After the extender is configured to connect to your existing WiFi network, you will need to save the settings and restart the extender.
- Once the extender is restarted, it should be connected to your existing WiFi network. You can test this by connecting to the extender’s network and checking your internet connection.
And that’s it! Your WiFi extender should now be connected to your existing WiFi network and ready to extend your wireless coverage.
How do I know my Netgear Extender is working?
To check if your Netgear extender is working, first, make sure it is powered on and connected to your existing WiFi network. Then, use a laptop or mobile device to connect to the Netgear extender’s default WiFi name and password.
Once connected, open a web browser and type in the extender’s IP address. On the extender’s setup page, look for an indicator or message that says the extender is connected to the network or is working correctly.
You can also check the extender’s signal strength and the number of devices connected. If everything looks good, your Netgear extender is working as it should.
How do I connect my WiFi extender to a new router?
- Plug the power adapter into your WiFi extender and plug the other end into a power outlet.
- Connect an Ethernet cable to the router’s LAN port, and then plug the other end into the WAN port of the extender.
- Log into your router’s web-based setup page and make sure the WiFi settings are enabled.
- On the extender, press the WPS button for 5 seconds, and then wait for the LED indicator to light up.
- The extender is connected to the router when the LED light turns solid.
- Log into your extender’s web-based setup page and make sure the WiFi settings are enabled.
- Set the extender’s network name and password to match the router’s settings.
- Your extender is now connected to the router and ready to use.
How to Reset NETGEAR WiFi Extender?
Step 1: Plug your NETGEAR WiFi Range Extender into a power outlet near your router.
Step 2: Press and hold the Reset button on the back of the extender for 10 seconds.
Step 3: The LED will flash green after the extender has rebooted.
Step 4: Connect your computer to the NETGEAR_EXT network.
Step 5: Open a web browser and enter http://mywifiext.net in the address bar.
Step 6: Log in using the default username and password (admin/password).
Step 7: Select the “Extender Setup” tab and click “Reset”.
Step 8: The extender will now reset to its factory default settings, and the LED will turn solid green.
Step 9: Reconfigure the extender according to the instructions provided in the user manual.
Netgear N300 Wi-Fi Range Extender Setup
- Plug your N300 Wi-Fi Range Extender into an electrical outlet near your wireless router.
- Open a web browser on a device that is connected to your wireless network.
- Enter www.mywifiext.net into the address bar.
- The Netgear N300 WiFi Range Extender setup page will appear.
- Enter your wireless network’s name (SSID) and password into the appropriate fields.
- Click the “Continue” button.
- The N300 will display a list of available networks.
- Select the network you wish to extend, then click the “Continue” button.
- The N300 will display a list of available channels.
- Select the channel you wish to use for the extended network, then click the “Continue” button.
- The N300 will display a summary of your settings.
- Click the “Apply” button to save your settings.
- The N300 will connect to your router and create the extended network.
Conclusion
The NETGEAR WiFi Extender is a great tool for anyone looking to extend the range of their existing WiFi network. It is easy to set up, and offers a variety of features to help enhance the signal strength and stability of your wireless connection.
With its simple setup and reliable performance, the NETGEAR WiFi Extender is an affordable and effective solution for those looking to extend their WiFi reach.