


Thermal paste, thermal grease, thermal pads – do these words mean anything to you? Any hardcore gamer or PC user will tell you that a thermal paste is crucial to guarantee computer performance. It can be a bit confusing, though, because if you talk to different people, they might use different words like thermal paste, thermal goop, thermal grease, etc. Is there are need to use any or all of these things?
Table Of Contents
Turns Out You Do – Here’s Why
 It’s in the name itself – thermal paste helps with heat conduction. Specifically, it manages to fill in the gaps so that the pathway for heat is evident, thereby ensuring that heat escapes through the vents quickly and efficiently. The reason why this is important is also apparent – you don’t want your computer to overheat. Much like a car, placing your PC under excessive stress – such as running multiple applications simultaneously – can turn up the heat and cause the hardware to shut down. If it happens often enough, your PC might not turn back on!
Related: Xbox Series X Overheating – Reasons And Solutions
Distinctions Between the Three
Here’s where the confusion comes in. Remember that it doesn’t matter what term is being used – thermal paste, thermal grease, and thermal goop – all of these refer to the same thing. There are other names for it, such as thermal compound, thermal gel, thermal interface material, heat sink, compound, and CPU grease. You hear any of these terms, and you should know they’re all talking about the same thing.
Of course, there’s the third name: thermal pad. This one is different from the rest because it’s not a liquid-like consistency. It’s solid and, therefore, much easier to apply. However, it’s also thicker and more likely to form molds that create air gaps. Remember, the whole point of these products is to seal in the air to direct the heat through a common pathway. With air gaps, the ability of the PC to cool down becomes compromised.
What’s Better? It’s Depends on How you Use It
Well, I think the previous chapter already answered this question. If you want the best results, the thermal goop would be best, with thermal pads a close second. There are some drawbacks to the thermal pad in that it’s not exactly made for long-term use. At some point, that pad will become contorted because of the heat, necessitating a replacement. Usually, this will happen when you do something with the thermal sink, such as removing it from the case for some side work.
Here’s what you need to remember, though – it’s not a good idea to use both simultaneously. If you’re using thermal goop, use thermal goop. If you’re using a pad, then use the pad. Combining the two won’t make your PC more ‘heat efficient. Instead, it will make things worse, and you might need to have your computer fixed sooner rather than later.
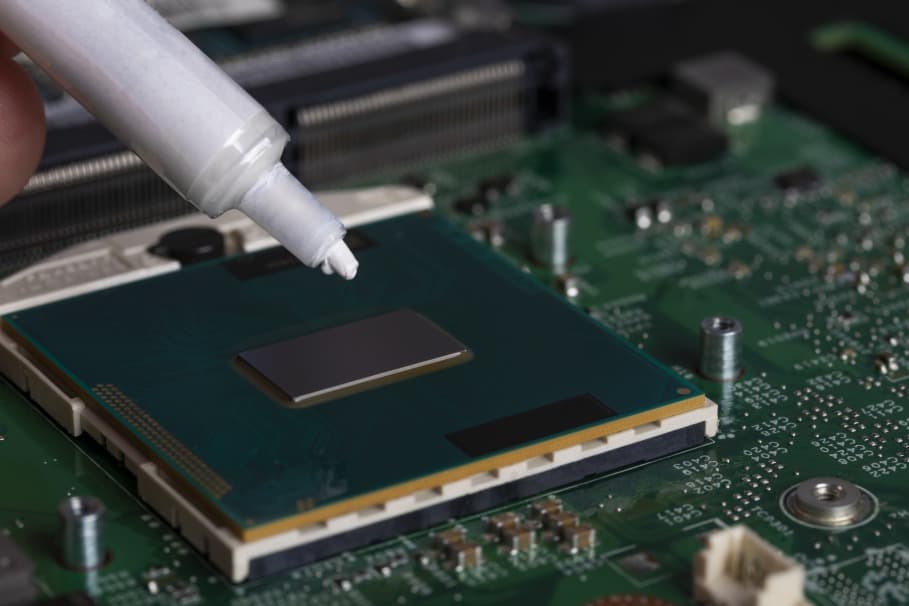
How to Apply Thermal Paste, Grease, or Goop
So you’ve decided that thermal paste is the better option here. The question now is – how do you put it on your PC? The answers are below:
Buy the paste

The paste comes in different types and will have varying costs depending on the brand. Your choice depends on what you’re doing with the PC. Essential work requires ingredients of zinc oxide and silicone. If you want to overclock your computer, something more challenging would be required. Opt for a goop with traces of copper, gold, or silver. They’re highly conductive and help transfer heat smoothly from one part to another. You can also find ceramic ingredients in the goop. The standard thermal paste will do unless you’re doing something heavy with the PC.
2. Clean and sand the surface.
Next, start cleaning the area you’ll put the paste on. Any dirt and grime will only leave air pockets that compromise the goop. Most people also like to sand the area between the heat sink and the processor. Feel that portion – is it a bit gritty and bumpy? A smoother surface would make applying the thermal paste more straightforward and effective. Make sure to do this using only fine-grit materials. Otherwise, you might end up damaging the surface.
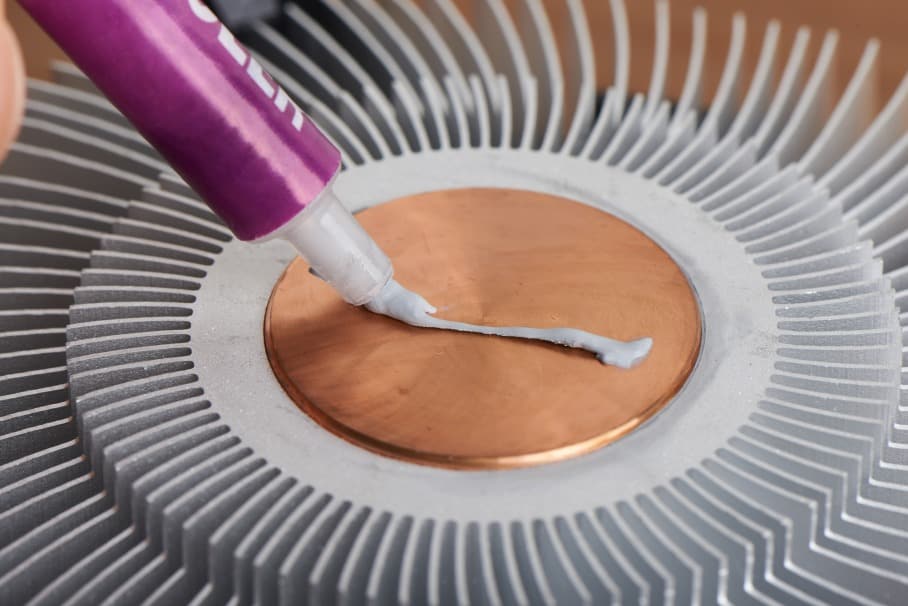
This is where things get a bit more complicated because there are two coolers shapes today. You have the circular, and you have the square. A circular type is pretty easy:
- Put a small amount of the goop in the center of the circular cooler. Note – this should be a minimal amount. Think grain of rice. There’s no need to go overboard because any extra thermal paste will only go to computer parts you don’t want to touch.
- Once the goop has been placed, gently attach the heat sink. Make sure to apply even pressure as you lay it flat on the spot. The pressure will take care of the goop spread so that it will be applied evenly throughout the area.
Leave it alone for a few minutes before putting all the parts back together and rebooting the PC. Do NOT check if your seal worker is because lifting any part will only damage the perfect layer. If you’ve done all the steps above, you shouldn’t have any problem with the execution and results.
What about a square-type cooler? This one is a bit trickier.
- Place the paste in an X shape on the side of the cooler.
- Grab a finger protector – ideally made from plastic – spread the paste around until all surfaces are covered.
- You’ll know it’s done right when the paste barely covers the metal. Make sure there’s an even spread on the surface.
- Once you’re happy with the results, attach the other parts and boot the PC.
Keeping your PC cool is crucial if you want to make sure it will provide optimum performance. Remember – there is such a thing as too much thermal paste, so if you have to choose, opt for less. Too much might cause damage to other components, but less will only mean your cooling power isn’t as efficient.