


Want to learn how to resize an image on iPhone in the easiest way? When you share images on social media or send them via email on your phone, resizing them will ensure that your images load quickly. Other benefits of resizing images on your phone are:
- It frees memory storage
- Saves bandwidth
- Allows you to send images via messaging apps and email without losing quality
- Optimizes images before uploading
To learn how to resize an image on an iPhone, read our quick guide below.
Table Of Contents
Understanding Image Resizing on iPhone
Resizing is a function used for image editing on computers and phones. When you resize an image, you only change its size, not its aspect ratio. If done right, it maintains the image’s clarity, sharpness, and color intensity.
You may need to resize an image on your iPhone for many reasons. Perhaps you want to send the image via WhatsApp or share a photo on social media. All of these platforms call for different formats. It’s usually a bad idea to upload the image the way it is. You’ll probably need to resize it first.
Another scenario that may require you to resize your images is when you haven’t got a lot of storage left on your phone. Resizing some of your images will free up space.
Also, most email providers have limits on the size of files you can send. If you need to send lots of high-resolution pictures, the best way to ensure that you can send them all in one email would be to resize them.
Related: How to Invert a Picture on iPhone? A Step-By-Step Guide
Methods to Resize an Image on an iPhone
There are several methods you can use to resize an image on your iPhone. Let’s explore three of them below:
Using a Native Photos app
1. Open the Photos app on your iPhone.
Image: David Smith
2. Select the image you wish to resize.
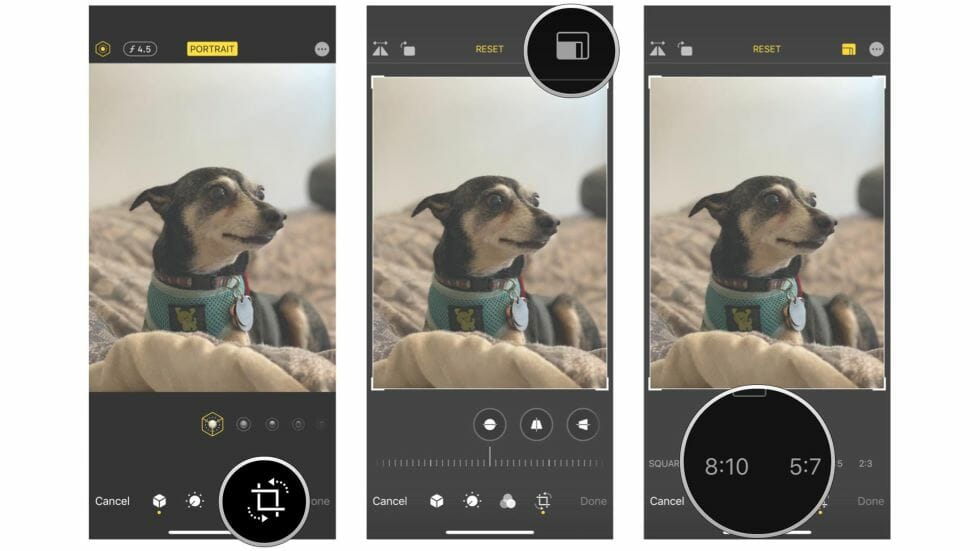
Image: iMore
3. Tap on the “Edit” option.
4. Choose the “Crop” tool.
5. Adjust the size – you can either do this by choosing one of the listed options or by choosing the Freeform option, which allows you to drag the corners of the picture until you get the aspect ratio you want.
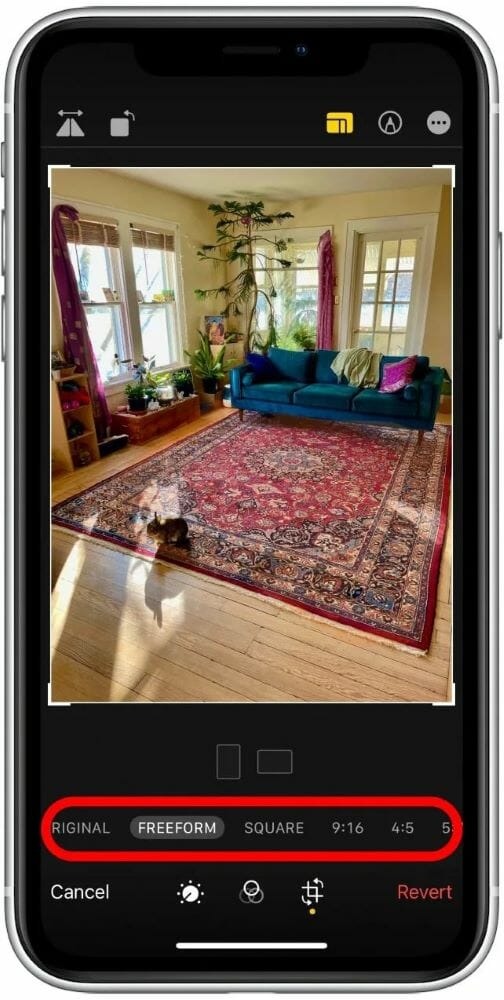
Image: iPhone Life
6. Save the resized image.
Utilizing Third-party Apps
There are a number of third-party apps for Apple devices, including image-resizing apps you can use too. Some of these apps, like Image Size, are specifically made for resizing photos, while others come with further image editing functions. Always download apps from official app stores, such as the App Store on your iPhone. Check the reviews and comments of other users before downloading as well.
Here’s how resizing an image works on Image Size.
- Go to the App Store and type ‘Image Size’ in the search field.
- Once you’ve found the app you wish to download, click on the ‘Get’ icon. Image Size is free, but paid apps will have an icon ‘Buy’. Then tap ‘Install’. You may be prompted to sign in to the App Store before you can proceed.
Image: Image Size
- Open the app. You’ll see a blank canvas. Tap the images icon to import the photo you wish to resize.
- Adjust the size by choosing the type of measurement you prefer (the app allows you to choose between pixels, millimeters, centimeters, and inches).
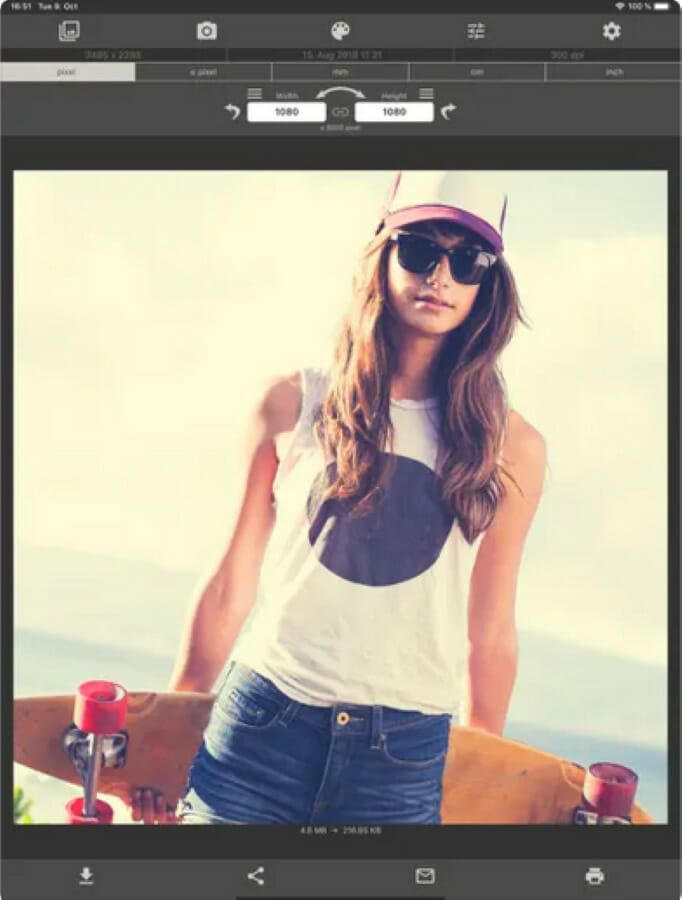
Image: Apple App Store
- You can also change the aspect ratio manually in the menu above the image. Remember to tap the chain icon between the width and the height to make sure that they are automatically coordinated.
- Save the resized image.
Other great third-party image-resizing apps that work with iOS are Pixlr, CropSize, and PicsArt.
Using Online Image Resizing Tools
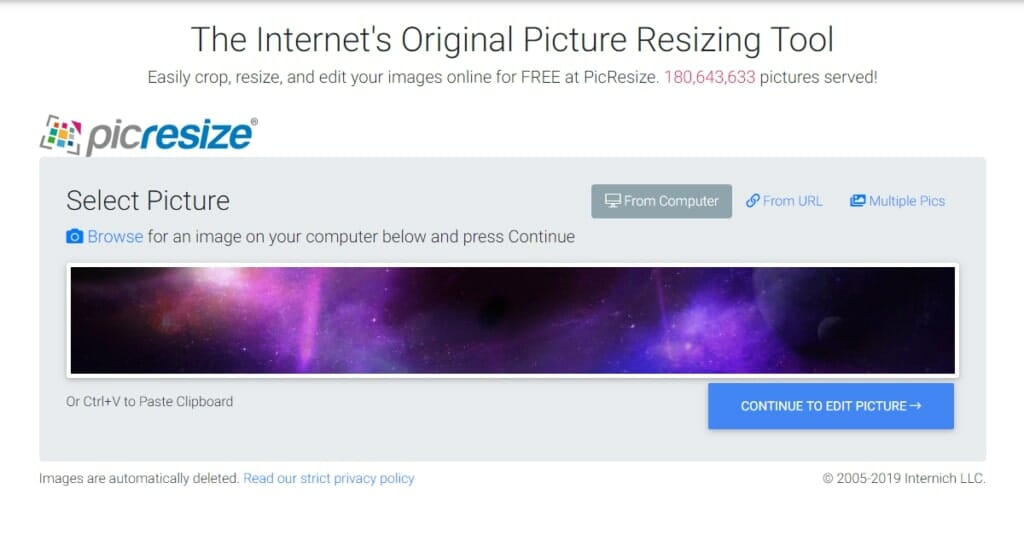
Image: PicResize.com
Another option to consider for resizing your images is online image resizing tools. There are plenty of them online. There are completely free online tools like PicResize.com, SimpleImageResizer.com, BeFunky’s free online Image Resizer, and more. Most of these services also include a converter where you can convert your images into various formats. Some, like PicResize.com, allow you to resize your images in batches of up to 100 pictures at a time.
In most cases, the steps are very simple:
- Open the online tool.
- Upload your image.
- Adjust the size or dimensions (some of the tools also allow you to select special effects).
- Download the resized image.
Related: How to Do Side-by-Side Photos on iPhone
Tips and Best Practices for Image Resizing on iPhone
If you want your images to look sharp and professional, there are some things to keep in mind when resizing your images. Here are some of the most important to consider:
Maintaining Aspect Ratio for Accurate Resizing
When resizing your pictures, check whether the aspect ratio is locked in the app or program you’re using. There’s usually a chain or lock symbol next to the width and height parameters. If it’s locked, the width and height will be changed simultaneously. This will prevent your image from looking stretched or distorted.
Choosing the Right Size or Dimensions Based on the Purpose
If you need your image to look good on a particular screen, sometimes you’ll need to crop it as well as resize it. Cropping lets you use only part of your initial image, discarding the unnecessary edges. Use this function, for instance, to change a large horizontal image into a vertical background for your iPhone.
Balancing Image Quality and File Size
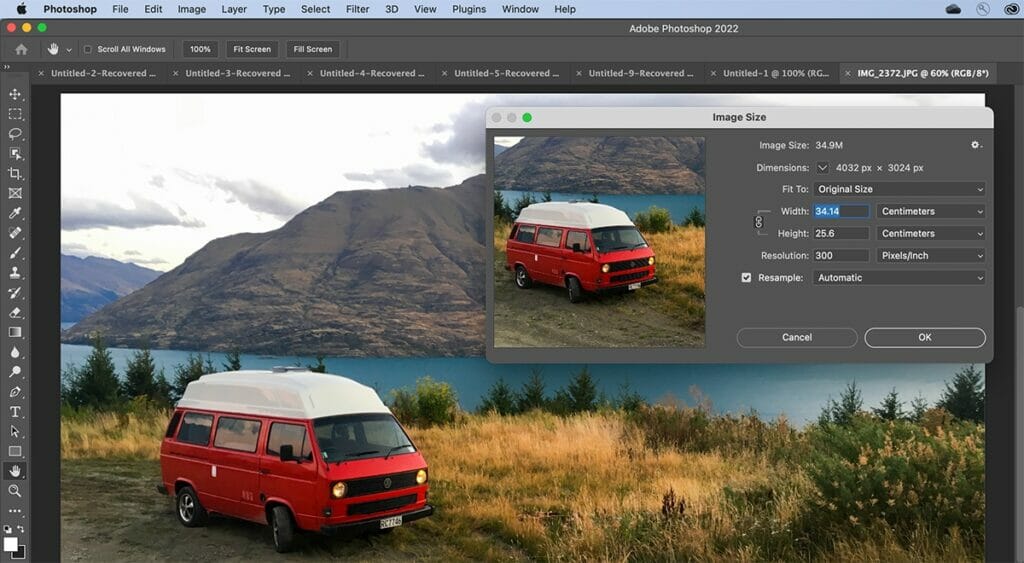
Image: Adobe
One of the most important things to consider when resizing photos is the balance you want to achieve between the file size and the image quality. You want to save storage space, but if that will result in tiny, blurry images, it’s simply not worth it.
Avoiding Loss of Image Resolution During Resizing
You want to make sure that your resized image is still as clear and distinct as it was originally. Using high-resolution images to start with is one of the best ways to avoid quality loss when you resize your images. Another tip is to avoid changing the image’s aspect ratio, as this can make the image blurry if not done correctly.
Related: Best Photo Printer for iPhone – 5 Model To Consider in 2023
Troubleshooting Common Issues
Here are some common issues you might encounter when resizing your photos and how to fix them.
Image Quality Degradation
If you’ve resized an image unsuccessfully, you can almost always undo it and recover the original. But if you have a bad-quality image to start with, it’s still possible to fix it. Programs like Photoshop allow you to fix bad-quality photos using a variety of functions like filtres, background erasers, and color correctors. You can try adjusting brightness, sharpness, or color saturation.
Inaccurate Resizing
If you’ve resized your images inaccurately, they can end up looking blurry or stretched. This can happen if the aspect ratio isn’t locked in the program you were using. Always check to make sure that you won’t distort your image when resizing it. It’s also a good idea to keep a backup file just in case.
File Format Compatibility Issues
Not every image file format is the same. Some formats, like PNG, support transparency for graphics that need this feature, while JPG (or JPEG) is considered the best format for resizing and compressing.
Related: How to Find Hidden Photos on iPhone? Follow These Easy Steps
Conclusion
No matter whether you use the native iPhone Photos app, one of the third-party apps, or an online tool, resizing images correctly is the secret behind vivid, high-quality images. Always consider your final aim and choose the best balance between image quality and file size.
Image resizing on an iPhone isn’t difficult, and all the above-mentioned apps allow you to resize an image in several easy steps. If you’re not sure what works best for you, try all of the above methods and choose the one you like most.