How To Install Device Handlers In SmartThings?...
Are you looking forward to setting up your smart home? There are so many possibilities in automating your home, much more than just locking doors, switching light bulbs on and off, or activating a speaker. For a real smart home using a smart hub, the possibilities are endless.
Most people are aware of Amazon’s Alexa, being one of the more popular devices out there. There is also Google Assistant and Apple Homekit. A lesser-known system is Samsung’s SmartThings, which is also one of the first and best choices.
Why Is SmartThings The Best?
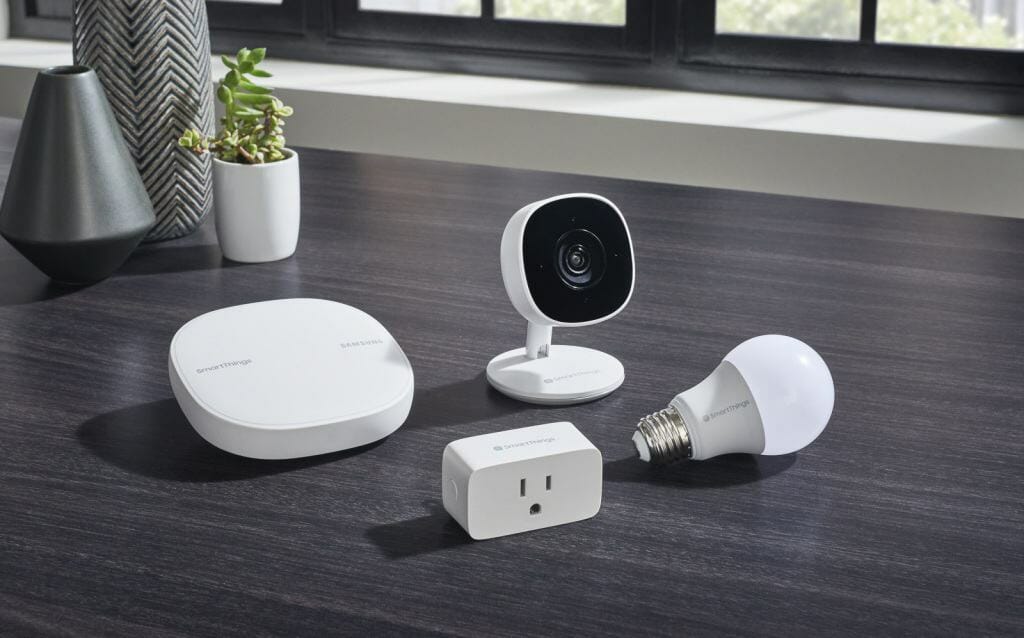
What sets SmartThings apart from the others is the fact that it is so inclusive, almost everything will work with it (with very few exceptions). This means that other than Samsung’s own SmartThings devices, you can add many others as long as it is a WiFi, Z-Wave, or ZigBee device. Once they have been connected, you can control them all using the app. On your smartphone, you can basically control most of your home’s functionalities so long as they are connected by a smart home device.

SmartThings does not just have the capability to control all these gadgets, but it can „talk“ to them and make them work together. So even if you have stuff from different manufacturers, like a Philips Hue bulb and a door lock from Yale, there is no problem when it comes to pairing them to SmartThings.
The biggest downside is the fact that it is not as intuitive as the other systems, and you might have a bit of a learning curve to figure everything out. When you invest the time and the effort to set it up, you will reap the rewards with a stable and harmonious smart home.
What Happens When You Have A New Device?
Because the system is inclusive, you can try out any smart home device and connect it to your SmartThings hub. So what happens you purchase something new and realize at home that setting it up is not as easy as pie? This can happen, especially when the device is relatively new on the market. If it’s something that’s been around for a while, it might be possible to find official support for it.
If you do not find anything, do not despair. This is why there are custom device handlers, code that other people like you have developed and posted on different forums and platforms. These give you instructions and the necessary code to connect your new smart home device. You will need a custom handler for the specific model you have for it to work.
Adding And Installing A Device Handler
For many smart home devices out there, you simply need to scan a QR code and follow some steps. If you do not find a QR code, then you can search by device and brand.
Otherwise, you need to set up a device handler. This represents your smart home device in the SmartThings platform and has the responsibility of communicating between the platform and the device. Without it, you cannot control it, like switching it off and on or do any other tasks you indicate.

On the SmartThings App, there are templates you can choose from for common smart devices like light bulbs. This means you will not need a code as there is a generic one available.
If not, a custom device handler is necessary. To start off, you need the specific code for the device you want to connect, and then you can take the following steps.
1. Log Into The SmartThings App
Open the app and log in with the same username and password for your smart home hub.
2. Click On My Device Handlers
In the top menu, you will find the header “My Device Handlers“ and click on it.
3. Click On Create New Device Handler
In the top right corner, you will find the option to “Create a new device handler“. Click on it, and you will find a tab menu. You have the option to use a device handler “From template“if there is one available. The other option is to upload your own code.
To do so, choose the option “From code“. You will see a blank area where you can write your own code. Copy and paste the code you found to install a custom device handler for your smart home device. Again, to make sure it works perfectly, you need the code for the device you want to connect.
4. Publish
Once you are finished, you need to scroll to the bottom of the page and click on “Create“. Afterwards, click on “Save“, before choosing “Publish” and “For me”. You should see your new custom device handler on the list.

5. Assign The Device Handler To Your Device
If you had paired your new device to your smart hub beforehand, you would need to exclude it first. Then, you need to add the device to your SmartThings hub by clicking on “Add Thing“ and “Connect New Device“. Activate the sensor on the device so it will be detected by the SmartThings app. Leave the device and the sensor on for a couple of hours to let it configure.
6. Test Your Custom Device Handler
The next step is to test whether your device handler works. Simply choose the device handler from the list and choose a command (switch on/off, for example) and see if your new device works.
Setting Up Your Smart Home
How was your experience setting up your first custom device handler? For sure, it was a bit more complicated compared to pairing devices that are already supported by SmartThings, but the effort is truly worth it. You now know how to install basically any smart home device (so long as it is supported) to your SmartThings hub.
The next step is to organize your devices, into rooms or into similar devices (like Lighting). This makes it easier for you to control them. You can also set up automation and scenes for specific devices to switch on or off when the conditions you set are met. Little by little, you have successfully set up your smart home!


1 comment
“RAAAAAAAARRRRRRRRRRRRRRRR”
Said Brian the bear
“Sniffff sniiiiff snooooh”
Said Ringo the rabbit.
Comments are closed.