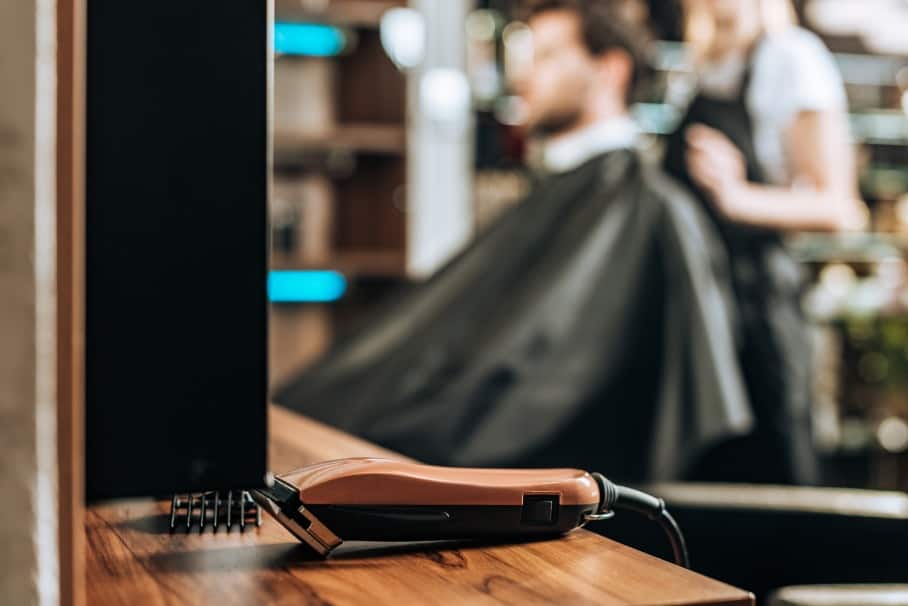
A hair clipper is a portable tool for home use and is an essential piece of equipment at a salon or barbershop. As hair clippers come into direct contact with the scalp and the skin and given that the skin plays host to many bacteria and disease-causing microorganisms, it is a good idea that it receives a thorough clean in between uses.
Cleaning your hair clipper will help protect you from infections and keep them in good working condition for many years to come.
If you don’t have experience and know-how in cleaning hair clippers, this is one useful task that you can learn today. Whether you are using a hair clipper for personal use or if the clipper is being shared among family members, ensuring its cleanliness at all times will keep you and your loved ones safe.
Here is a comprehensive guide on how to keep your hair clippers clean and in excellent condition.
1. Remove Hair Build-up
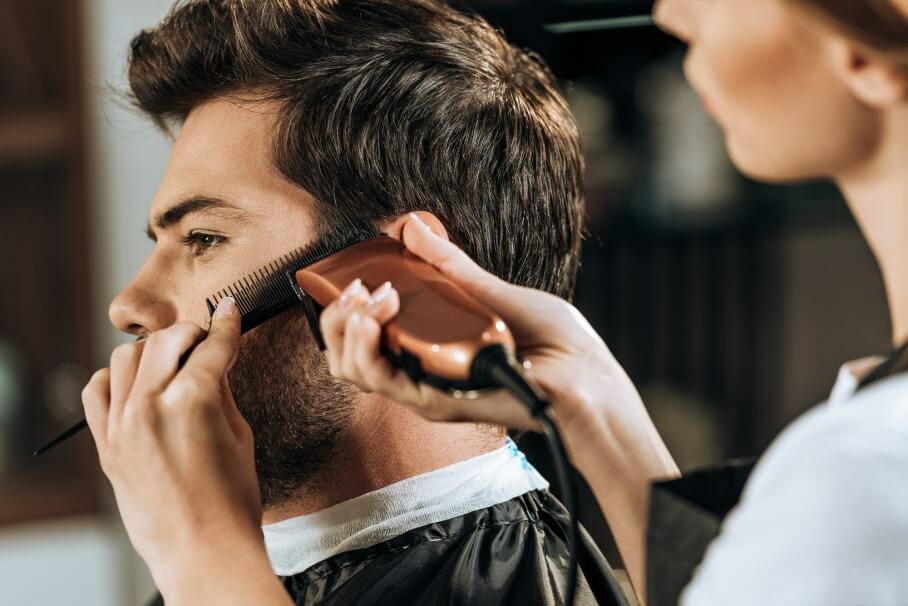
It is important to remove the buildup of hair clippings from the tool itself. This is done to prevent the blades from becoming dull fast. A dull blade reduces the efficiency of hair clippers to cut hairs in a smooth and fast manner.
- Remove all hairs and dirt that has accumulated in between the blades, as well as crevices. Spread a clean towel over a table. This will be your work area when cleaning a hair clipper.
- Gently detach the comb guide.
- Assess the blades and the surrounding area. Brush away any loose hair trimmings. A hair clipper set typically comes with a small brush for cleaning and maintenance. You may also use a cosmetic brush if your hair clipper does not come with a dedicated brush for cleaning.
- If your hair clipper features detachable blades, make sure to follow the guide on how to safely remove the blades from the main unit
- Remove dust and hair debris from the blade and the unit.
- Place the blades back into their position as soon as you’re done cleaning them.
- Spray a few short bursts of compressed air in a can. This product will clean your hair clipper without disassembling the entire unit.
- Gently snap on the blade cover to keep the blades protected at all times.
- Never use loose, fibrous materials when cleaning the space in between blades as this may result in messy fibres stuck in between them. These small particles impede the smooth operation of hair clippers.
2. Thoroughly clean the comb guides
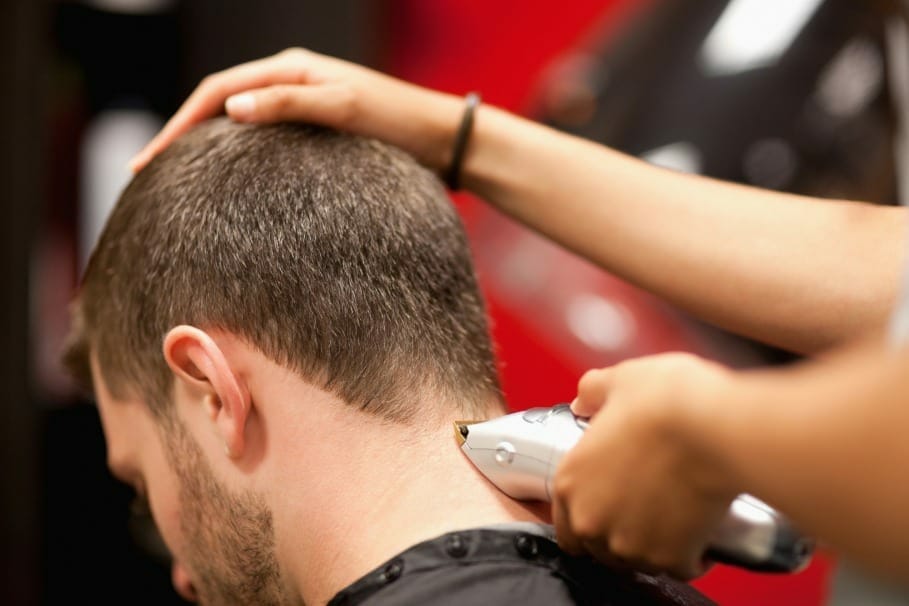
Ideally, the hair and scalp should be clean prior to cutting or styling the hair. Dirty hair means an accumulation of grease and hair products on the comb guides over time. To effectively remove short hair trimmings on the surface of the comb guides, make sure to follow these steps:
- Remove the comb guide attachments. Hand wash the attachments in warm water mixed with a gentle cleanser.
- Thoroughly dry the comb guides before putting them away for storage. Ideally, they should be air-dried. You may do so by placing them on an absorbent towel through the night.
- Carefully assess the comb guides for any signs of damage or wear and tear. You need to replace the comb guides when you see any type of damage to ensure the efficiency of operation. Broken or missing pieces along the comb may lead to unsightly and inconsistent outcomes.
- If the hair clipper came in a case, make sure to clean it, so it is free from dust and dirt. Store the dry comb guide in the case.
3. Lubricate the blades sufficiently
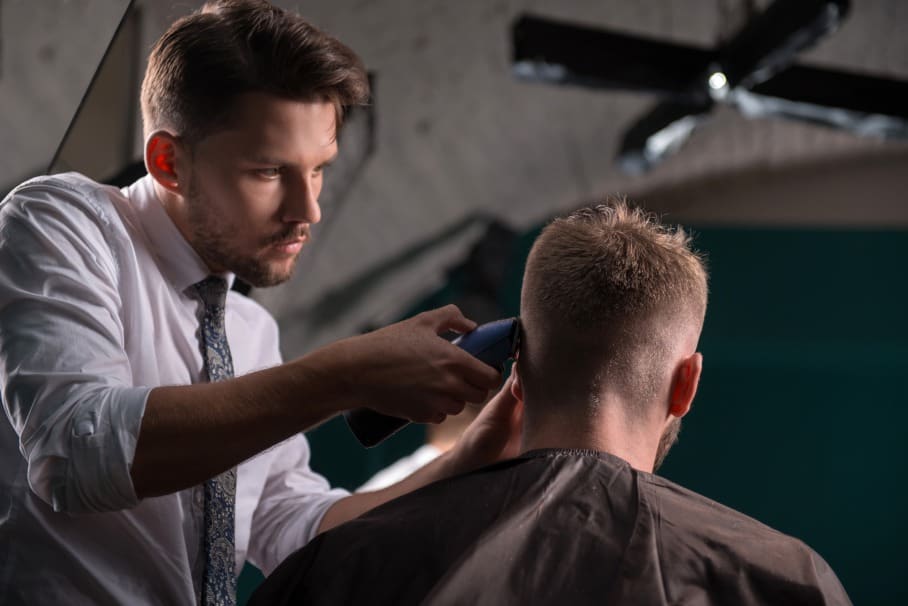
Just like any piece of machinery with moving parts, the hair clipper needs adequate lubrication for it to perform optimally.
Hair clippers, when exposed to air, moisture, and operational friction may result in the deterioration of the tool over time. Blades that are well lubricated with oil will retain their sharpness. Lubrication also serves as protection for the blades to keep rust at bay.
With a well-lubricated hair clipper, your hair will run smoothly through it. It also helps in avoiding painful tugs when a strand or two is trapped in between dull blades. You’re supposed to use a hair clipper to ensure smooth and pain-free operation, especially among kids. Lubrication should be a top priority when cleaning and maintaining this trusty tool.
This is a brief guide for lubricating the blades of a hair clipper:
- Switch your hair clipper on and then apply a drop or two of oil directly on the blades.
- Make sure to only use a small amount of oil to prevent over lubrication. Overly lubricating the hair clipper may lead to damage to its main engine unit.
- Let the clipper stay on for a few seconds. This will allow the oils to be scattered evenly on all blades.
- Gently wipe any excess oil from the hair clipper casing.
Hair clippers usually come with a small amount of oil for cleaning, as well as a guide on how to treat the blades before its first use. You may purchase the oil from the manufacturer once you run out of it.
The main mechanical unit of a hair clipper is sealed and does not require any cleaning and upkeep. Check your user manual to determine whether or not the motor needs periodic mechanical lubrication for smooth operation. You will need a small screwdriver to open the housing. You may need to find an opening where the oil should be inserted on the cover of the casing.
Do you need to sterilize your hair clipper, too?
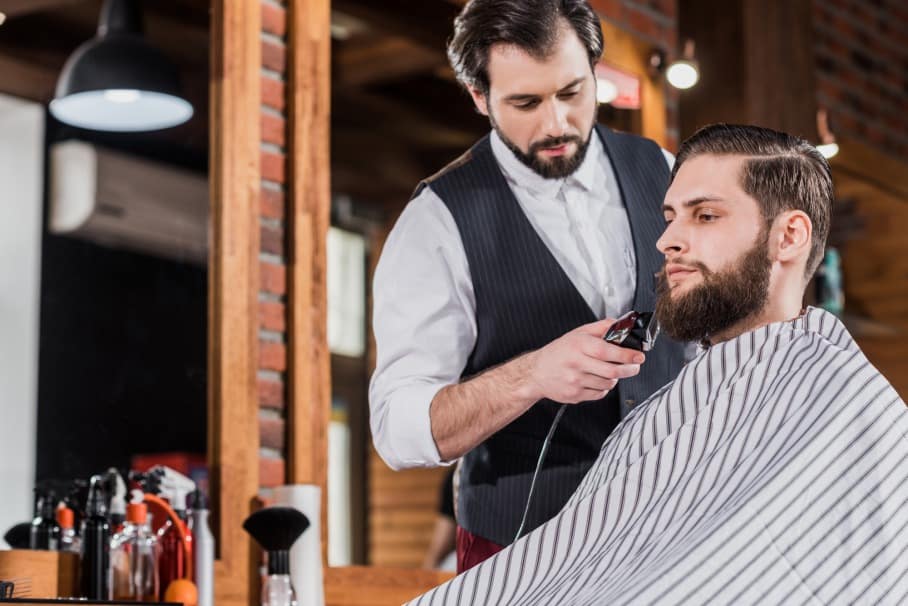
If you want to ensure a clean and well-sanitized hair clipper, you may need to perform sterilization, too. We highly recommend that you sterilize the blades of your home hair clipper from time to time. This is especially true if you are sharing this equipment with other members of the household.
Cleaning and disinfecting your hair clipper is an excellent way to ensure that it runs smoothly and that you and other members can use it as often as needed without worrying about cross-infection.


